How to Tie a Tie: Windsor Knot
by Jessie Carter
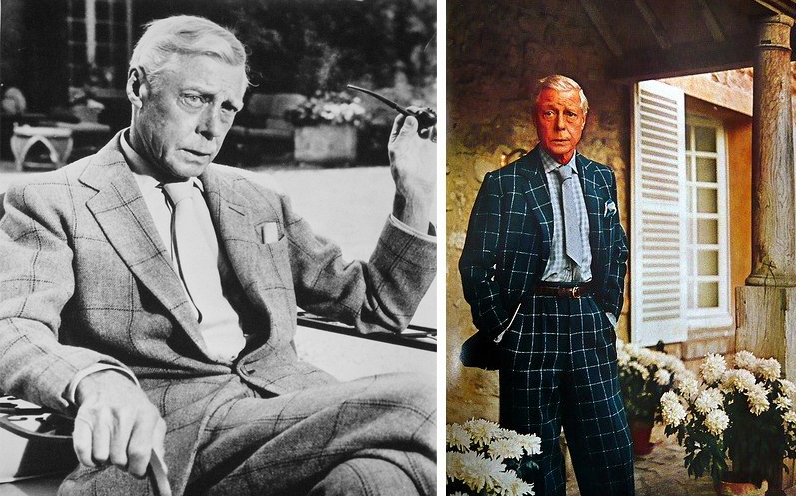
There are at least a hundred different ways to tie a necktie. If you include the awkward knot I turned my father’s favorite ties into at the age of four, then there are at least a hundred and one styles to pick from. Last week we brought you the simple Four-In-Hand knot. This week, the fox and I will show you another iconic style: the Windsor knot, made famous by the Duke of Windsor.

Edward was an interesting guy. In 1936, he became king when his father died. Only months into his reign, Edward brought scandal to the royal family by proposing marriage to Wallis Simpson, an American socialite. Simpson had divorced her first husband and sought to divorce her second one. A marriage with Simpson conflicted with Edward’s status as the head of the Church of England since the church frowned upon divorced individuals remarrying if their former spouse was still alive. Like a true gentleman, Edward threw the bird at the church, abdicated his throne, and married his love. Upon his abdication, Edward was given the title Duke of Windsor.
Edward had always been a sytlish guy. He loved bright colors, bold patterns, and wore both extremely well. In 1960, inventory taken of the Duke’s wardrobe revealed that he owned 55 lounge suits, three formal suits, 15 evening suits, and over 100 pairs of shoes. How many pairs of shoes do you own? This impressive wardrobe helped the Duke of Windsor become one of the most fashionable men in history and allowed him to make several contributions to men's fashion. Perhaps his most famous contribution was popularizing the aptly named Windsor knot.

The Windsor knot is a symmetrical, balanced, and large knot which compliments a wide collar. The knot itself is not the best for everyday wear but is perfect for a fancy event or anytime you want to draw attention to your tie. At the very least, you should know how to tie a Windsor.
Step one: Drape the tie around your neck with the wide end about fifteen inches below the narrow end. Cross the wide end over the narrow end
Step two: Pull the wide end of the tie through the hole between the tie and the collar. Pull the tie down. The wide end should hang on your right side.
Step three: Bring the wide end behind the narrow end to the right. The wide end of the tie should now hang on your left side.
Step four: Pull the wide end back through the loop. You will now have a triangle where the knot will be.
Step five: Wrap the wide end around the triangle by pulling it from right to left.
Step six: Pull the wide end up through the loop for the third time, if you’re counting. The wide end of the tie should now be hanging in the middle of your chest.
Step seven: Bring the wide end through the knot in the front.
Step eight: Tighten and center the knot.
We'll be back next week with the Half Windsor.
